Change Font of an Entire Microsoft Word Doc
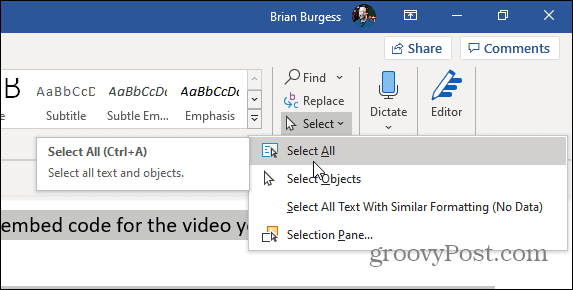
First, select all of the text in the document. To do that, just use the keyboard shortcut Ctrl + A on your keyboard. Or, if you don’t like using keyboard shortcuts, select the Home tab on the Ribbon and from the “Editing” section, click Select > Select All.
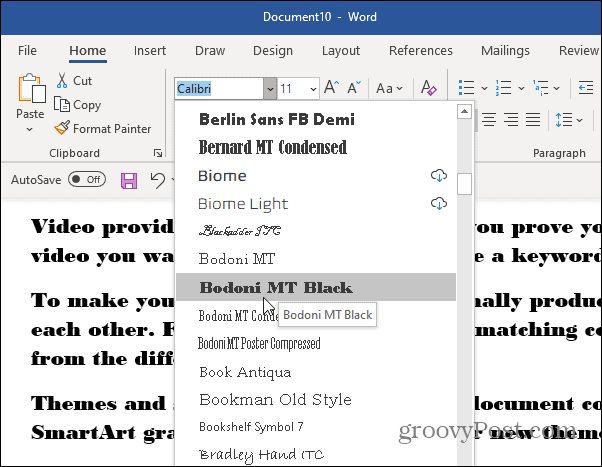
All of the text in your document should now be selected and highlighted. With this done, you can edit the entire document at once. On the Home ribbon, you’ll find everything you need under the “Font” heading.
Click the wide font box to display a list of fonts. From this list, you can hover the mouse over a font to preview it or click it to change the text to that font. You can also adjust boldness, italics, color, size, and underline.
But, manually adjusting the font might not be the easiest or the fastest way to make your document look great. The first thing you should try is styles; I’ll show you where they are below.
Word Document Styles
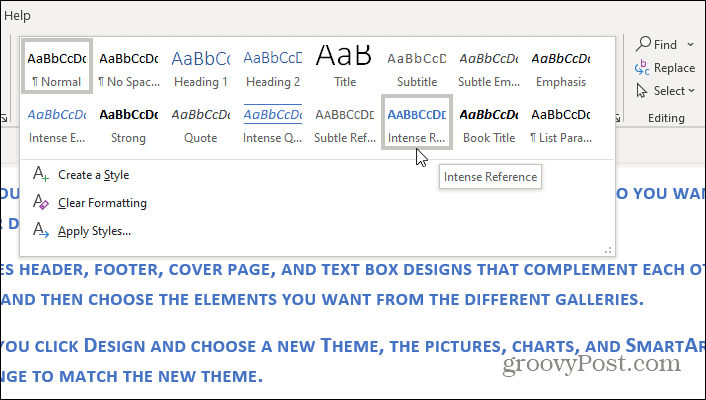
Alternatively, you can use the “Styles” menu from the Home tab to select pre-made font sets. A style will automatically adjust the color and font of your document. It also applies different values to headings, titles, and other special text.
With a pre-made style, you can change the look of your entire document to something professional and appropriate with a click of the mouse. Styles allow you to quickly apply a set of formatting choices consistently throughout your document. First, after having selected all, applied the font size and type (in this case Ariel 10), and saved, when I select all again, I see that the Font window shows a blank instead of showing the font I used. I take this to mean that somewhere in the document, it’s not Ariel 10. Second, in the middle of moving things around, sure enough some other font starts appearing. It often happens when I get rid of a paragraph marker, so I think it’s somewhere in the paragraph-level formatting. Is there a way to do the select-all/format/save thing (meme? riff?) such that Word knows that I really mean it? TIA, David Select the all the text requiring font change – Go to the Toolbar – Select format – Go to Font – Change the font. This worked for me :) Good luck! D Then just add it. Instructions here: https://www.groovypost.com/howto/microsoft/add-custom-fonts-to-windows-7/ Thank you Comment Name * Email *
Δ Save my name and email and send me emails as new comments are made to this post.


![]()
