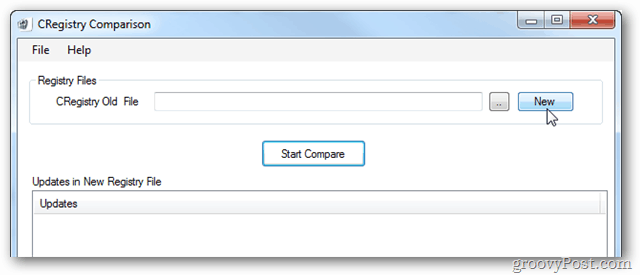
To start, you’ll need to install CRegistry and make a New CRegistry snapshot.
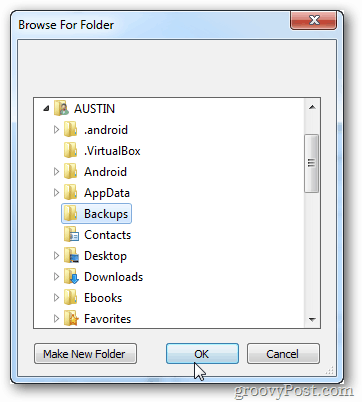
After clicking the New button, CRegistry will prompt you to select a folder to save your CRegistry files into. Note that these aren’t registry backups, just snapshots of what your Registry looks like on this particular day..
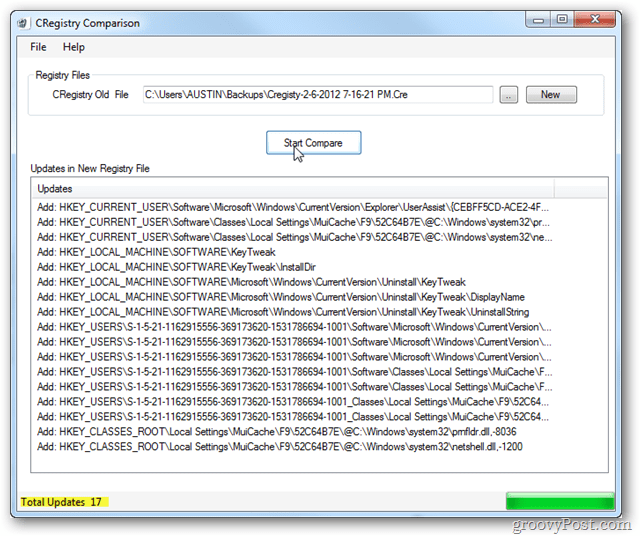
Once you have a CRegistry file saved you can install a new program. Once your new program is installed run CRegistry again browse to your old CRegistry file, then click compare. Here CRegistry will list every single change to the Windows Registry that happened since you created the previous file.
If you want to archive what change occurred, you can use the File Menu to Save Results from the comparison.
Overall CRegistry is a groovy little tool that lets you track Registry changes otherwise difficult to follow. For the cost of free, you can’t complain about its lack of features or visual graphics. It works fantastic for what it is supposed to do. Looking forward to your response… The best way to do this is as follows:
- Save a scan of the registry 2. Install program 3. Run new comparison (this will show everything “Added”) 4. Save comparison results. Now before uninstall:
- Save a new scan of the registry 2. Uninstall the program 3. Run new comparison (this will show everything “Removed”) 4. Save comparison results Now just compare the two results that you have saved. Will keep a copy for future reference. Keep up the excellent work on this site… Comment Name * Email *
Δ Save my name and email and send me emails as new comments are made to this post.


![]()
