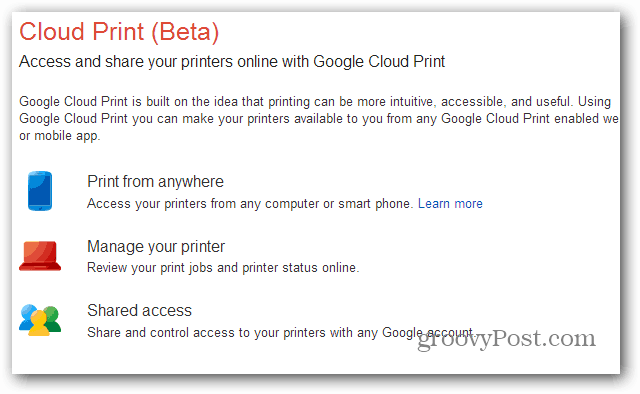
Google Cloud Print
First, sign in to Google Cloud Print on your computer, with your Google Account – you’ll need to do this in Google Chrome.
Now, in Chrome’s toolbar, click the menu button and go to Settings.
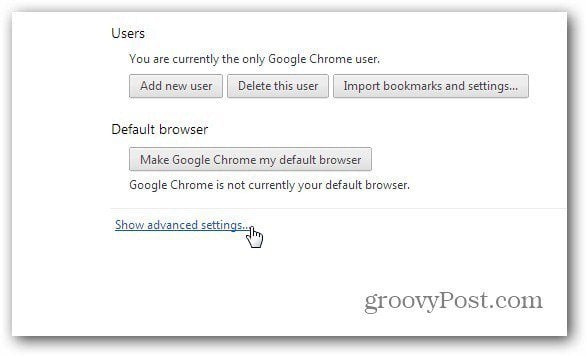
In the window that comes up, scroll down and click Show advanced settings.
Now, scroll to Google Cloud Print and click Add printers.
You’ll be asked to confirm that you want to add printers connected to the computer to your Cloud Print account. If you have a Cloud Ready printer, this step is not necessary.
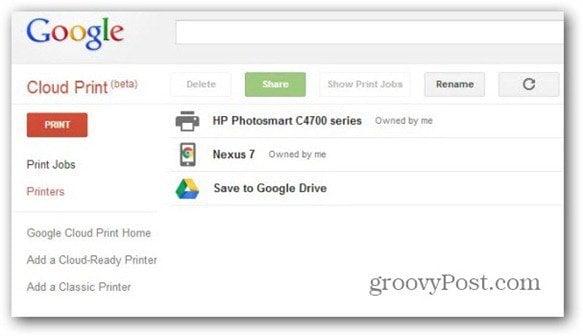
You’ll get a final confirmation message. Now the printer is part of your account and you’ll be able to see it in the list in your Cloud Print account.
Google Cloud Print App
Now, on to the next step. Click here to go to the Play Store and install the Cloud Print Android app on your Nexus 7.
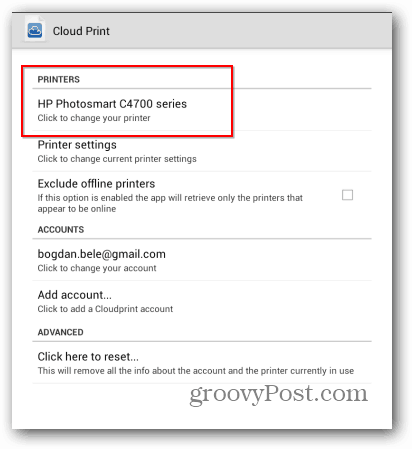
Launch the app and you’ll need to choose the account where you have the printer installed and allow some permissions – basically, a couple of clicks. Once that’s done, go to Settings (via the button on the top right side) and make sure you select the printer you’ve installed to your account.
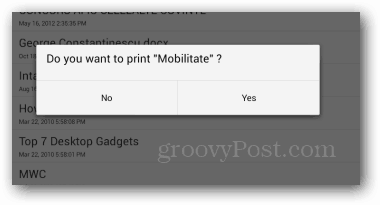
Everything should be set up now. I only have to mention that the computer the printer is connected to should be on, with Google Chrome started on it. You can now use the Local or Web buttons to find the file you want to print. They can be from your Nexus 7 or from web services. Currently features like Dropbox are only available for a limited time. After that you need to buy the Pro version of the app. But back to printing. Once you find the document you need to print, tap yes to verify you want to print it.
Then select the printer you want to send it to.
The feature worked great when I tested it and, if you have a computer that’s always on at home or at work, it’s a great way to print stuff on the go. Comment Name * Email *
Δ Save my name and email and send me emails as new comments are made to this post.
